

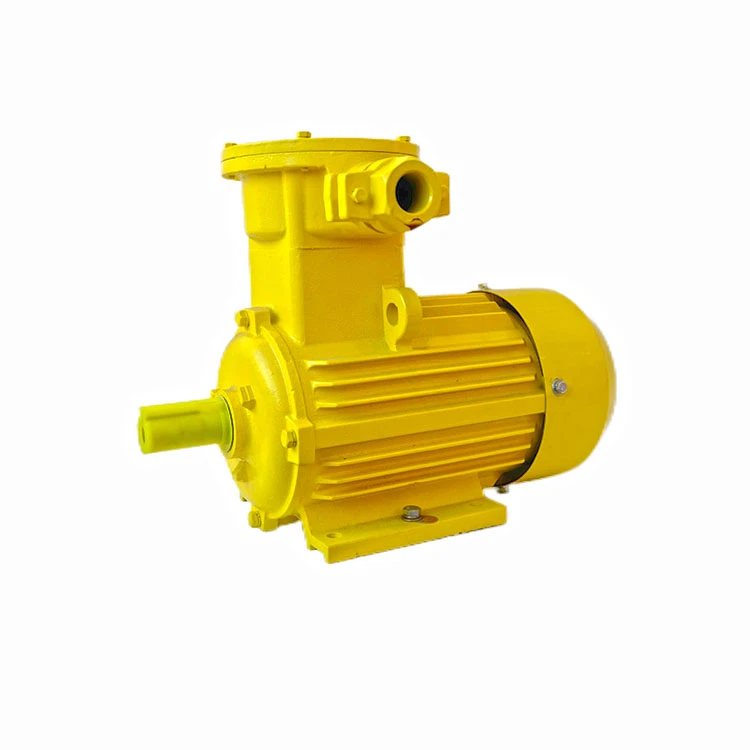
As a supplier of YB explosion-proof motors, I often receive inquiries from customers about motor maintenance and component replacement. One of the most common questions is how to replace the bearings in YB explosion-proof motors. In this blog post, I'll share a detailed guide on this process, ensuring that you can carry out the replacement safely and effectively.
Why Replace Bearings in YB Explosion-Proof Motors?
Bearings are crucial components in YB explosion-proof motors. They support the rotating shaft, reduce friction, and ensure smooth operation. Over time, due to factors such as wear, overloading, and improper lubrication, bearings can fail. Symptoms of bearing failure include abnormal noise, increased vibration, and overheating. If not addressed promptly, bearing failure can lead to more severe motor damage, downtime, and potential safety hazards. Therefore, timely replacement of damaged bearings is essential to maintain the performance and reliability of YB explosion-proof motors.
Tools and Materials Required
Before starting the bearing replacement process, gather the following tools and materials:
- Socket and wrench set
- Bearing puller
- Hammer
- Heating device (such as a bearing heater)
- Lubricant
- Clean rags
- New bearings that match the specifications of your YB explosion-proof motor
Pre-Replacement Preparations
- Safety First: Ensure that the motor is completely powered off and locked out to prevent accidental startup during the replacement process. Wear appropriate personal protective equipment (PPE), including safety glasses, gloves, and protective clothing.
- Motor Inspection: Conduct a visual inspection of the motor to identify any signs of damage or wear. Check the condition of the motor housing, shaft, and other components.
- Bearing Identification: Determine the type and size of the bearings that need to be replaced. Refer to the motor's technical documentation or consult the manufacturer if necessary.
Step-by-Step Bearing Replacement Process
1. Remove the Motor Covers
Use a socket and wrench set to remove the bolts securing the motor covers. Carefully lift off the covers and set them aside in a clean, safe place.

2. Disconnect the Electrical Connections
Disconnect the electrical wires connected to the motor. Label the wires to ensure correct reconnection later.
3. Remove the Fan and Fan Cover
If the motor has a fan and fan cover, remove them using the appropriate tools. This will provide better access to the bearings.
4. Remove the Old Bearings
- Using a Bearing Puller: Attach the bearing puller to the old bearing and tighten the puller's jaws securely. Use a wrench to turn the puller's screw, gradually pulling the bearing off the shaft.
- Heating Method: If the bearing is difficult to remove, you can use a heating device to heat the bearing evenly. This will cause the bearing to expand, making it easier to remove. Be careful not to overheat the bearing or the motor shaft.
5. Clean the Shaft and Housing
Use a clean rag and lubricant to clean the motor shaft and housing where the bearings were located. Remove any dirt, debris, or old lubricant.
6. Install the New Bearings
- Heating the New Bearings: If necessary, heat the new bearings using a bearing heater to expand them slightly. This will make it easier to install them on the shaft.
- Press-Fit Installation: Carefully place the heated bearing on the shaft, aligning it with the bearing seat. Use a press or a hammer and a suitable drift to gently press the bearing onto the shaft until it is fully seated.
- Lubrication: Apply a thin layer of lubricant to the new bearings to ensure smooth operation.
7. Reassemble the Motor
- Reinstall the Fan and Fan Cover: Place the fan and fan cover back on the motor and secure them using the appropriate bolts.
- Reconnect the Electrical Connections: Reconnect the electrical wires according to the labels you made earlier.
- Replace the Motor Covers: Place the motor covers back on the motor and tighten the bolts securely.
8. Testing and Commissioning
- Visual Inspection: Conduct a final visual inspection of the motor to ensure that all components are properly installed and tightened.
- Power On the Motor: Power on the motor and listen for any abnormal noises or vibrations. Check the motor's performance and temperature to ensure that it is operating normally.
Tips and Precautions
- Follow Manufacturer's Instructions: Always refer to the motor's technical documentation and follow the manufacturer's instructions when replacing bearings.
- Proper Lubrication: Use the correct type and amount of lubricant for the bearings. Over-lubrication or under-lubrication can lead to bearing failure.
- Avoid Contamination: Keep the work area clean and free of dirt, debris, and other contaminants. This will prevent damage to the new bearings.
- Bearing Storage: Store new bearings in a clean, dry place to prevent corrosion and damage.
Conclusion
Replacing the bearings in YB explosion-proof motors is a critical maintenance task that requires careful planning, proper tools, and attention to detail. By following the steps outlined in this blog post, you can safely and effectively replace the bearings in your YB explosion-proof motor, ensuring its continued performance and reliability.
At our company, we offer a wide range of high-quality YB explosion-proof motors, including the YBX3-100L2-4 3kw Induction Motor IP55, High Efficiency IE3 Explosion-proof Motor, and YBX4 Flameproof Three Phase Asynchronous Motor. Our motors are designed to meet the highest standards of quality and safety, and we also provide professional technical support and after-sales service. If you have any questions or need assistance with bearing replacement or motor procurement, please feel free to contact us. We look forward to working with you to meet your explosion-proof motor needs.
References
- Motor manufacturer's technical documentation
- Industry standards and best practices for motor maintenance and bearing replacement


