

As a supplier of 1 2 Hp Electric Motor Aluminum Housing, I often receive inquiries about the installation process of the wiring harness in these motors. In this blog post, I will guide you through the step - by - step process of installing the wiring harness in a 1 2 Hp Electric Motor Aluminum Housing, ensuring that your motor operates safely and efficiently.
Understanding the Basics
Before we start the installation, it's crucial to have a basic understanding of the components involved. The 1 2 Hp Electric Motor Aluminum Housing provides a protective enclosure for the motor's internal components, including the wiring harness. The wiring harness is a collection of wires, connectors, and terminals that transmit electrical power and signals to different parts of the motor.
The 1 2 Hp Electric Motor Aluminum Housing is designed to be durable and lightweight, making it suitable for various applications. It also offers excellent heat dissipation properties, which helps in maintaining the motor's performance.
Tools and Materials Required
To install the wiring harness in the 1 2 Hp Electric Motor Aluminum Housing, you will need the following tools and materials:
- Screwdriver Set: A set of Phillips and flat - head screwdrivers will be required to open and close the motor housing.
- Wire Strippers: These are used to remove the insulation from the wires for proper connection.
- Crimping Tool: To attach terminals to the wires securely.
- Electrical Tape: For insulating the wire connections and preventing short - circuits.
- Wiring Harness: Make sure you have the correct wiring harness for your 1 2 Hp Electric Motor.
- Terminal Blocks: These are used to connect multiple wires together.
Step - by - Step Installation Process
Step 1: Prepare the Workspace
First, ensure that the workspace is clean, dry, and well - lit. Turn off the power supply to the motor to avoid any electrical hazards. Place the 1 2 Hp Electric Motor Aluminum Housing on a stable surface.
Step 2: Open the Motor Housing
Use the appropriate screwdriver to remove the screws that hold the motor housing together. Carefully separate the two halves of the housing, taking note of how the components are arranged inside.
Step 3: Identify the Wiring Points
Inside the motor housing, you will find various wiring points, such as terminals for the power supply, stator windings, and other electrical components. Refer to the motor's wiring diagram to identify these points accurately. The wiring diagram is usually provided by the motor manufacturer and can also be found in the motor's user manual.
Step 4: Prepare the Wiring Harness
Inspect the wiring harness for any damage. Use the wire strippers to remove about 1/2 inch of insulation from the ends of each wire in the harness. If the wires are not pre - terminated, use the crimping tool to attach the appropriate terminals to the wire ends.
Step 5: Connect the Wiring Harness
Start by connecting the power supply wires to the appropriate terminals in the motor housing. Usually, the power supply wires are color - coded, with black or red for the live wire, white for the neutral wire, and green or bare copper for the ground wire. Make sure the connections are tight and secure.
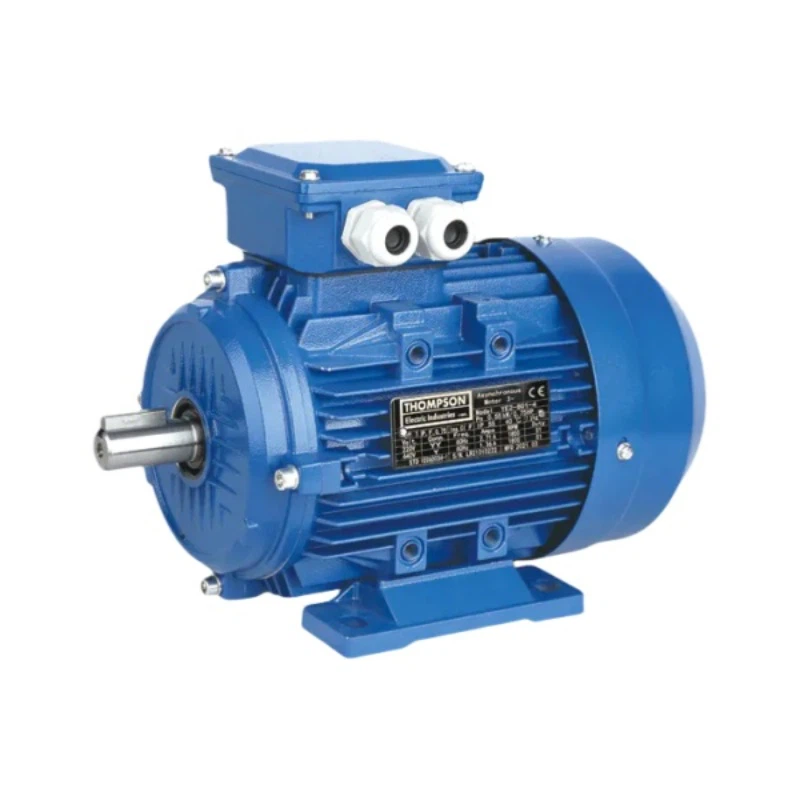

Next, connect the wires from the wiring harness to the stator windings. The stator windings are responsible for creating the magnetic field that drives the motor. Again, refer to the wiring diagram to ensure correct connections.
Use terminal blocks to connect multiple wires together if necessary. Once all the connections are made, use electrical tape to insulate the connections and prevent any short - circuits.
Step 6: Route the Wiring Harness
Carefully route the wiring harness inside the motor housing, making sure it does not interfere with any moving parts or get pinched. Use cable ties or clips to secure the wiring harness in place, keeping it organized and tidy.
Step 7: Close the Motor Housing
Once the wiring harness is installed and routed correctly, carefully place the two halves of the motor housing back together. Align the holes and insert the screws. Tighten the screws evenly to ensure a proper seal.
Testing the Motor
After installing the wiring harness, it's important to test the motor to ensure it is working properly. Turn on the power supply and listen for any unusual noises or vibrations. Check if the motor starts and runs smoothly. If there are any issues, immediately turn off the power and re - check the wiring connections.
Benefits of Our 1 2 Hp Electric Motor Aluminum Housing
Our 1 2 Hp Electric Motor Aluminum Housing offers several benefits. It is made from high - quality aluminum, which provides excellent corrosion resistance. The lightweight design makes it easy to install and transport. Additionally, the housing is designed to provide optimal ventilation, which helps in extending the motor's lifespan.
We also offer a range of related products, such as the MS Series IMB5 Aluminum Asynchronous Motor and the Three Phase 380v Aluminum Motor Foot Mounting. These products are designed to work seamlessly with our 1 2 Hp Electric Motor Aluminum Housing, providing a complete solution for your motor needs.
Conclusion
Installing the wiring harness in a 1 2 Hp Electric Motor Aluminum Housing requires careful attention to detail and following the correct procedures. By following the steps outlined in this blog post, you can ensure a successful installation. If you have any questions or need further assistance, feel free to contact us for more information. We are here to help you with all your motor housing and wiring needs. Whether you are a DIY enthusiast or a professional installer, our products are designed to meet your requirements.
If you are interested in purchasing our 1 2 Hp Electric Motor Aluminum Housing or any of our related products, please reach out to us for procurement and negotiation. We look forward to serving you and helping you find the best motor solutions for your applications.
References
- Motor Manufacturer's Wiring Diagrams
- Electrical Installation Standards and Guidelines


