

Hey there! As a supplier of YE2 series electric motors, I've seen firsthand how crucial it is to install these motors correctly. A proper installation not only ensures the motor runs smoothly but also extends its lifespan and reduces the risk of breakdowns. In this blog, I'll walk you through the steps to install a YE2 series electric motor correctly.
Step 1: Preparation
Before you start the installation process, you need to make sure you have everything you need. First, check the motor's specifications to ensure it's suitable for your application. Look at the power rating, voltage, speed, and other relevant parameters. You can find these details in the motor's manual or on the nameplate.
Next, gather all the necessary tools. You'll likely need a socket wrench set, screwdrivers, a level, and a torque wrench. It's also a good idea to have some safety equipment, like gloves and goggles, to protect yourself during the installation.
Step 2: Choose the Right Location
Picking the right spot for your motor is super important. The location should be well - ventilated to prevent the motor from overheating. Avoid areas with high humidity, dust, or corrosive substances as they can damage the motor.
The surface on which the motor will be mounted needs to be flat and sturdy. Use a level to ensure the mounting surface is perfectly horizontal. Any unevenness can cause vibrations, which will reduce the motor's efficiency and may lead to premature wear and tear.

Step 3: Mount the Motor
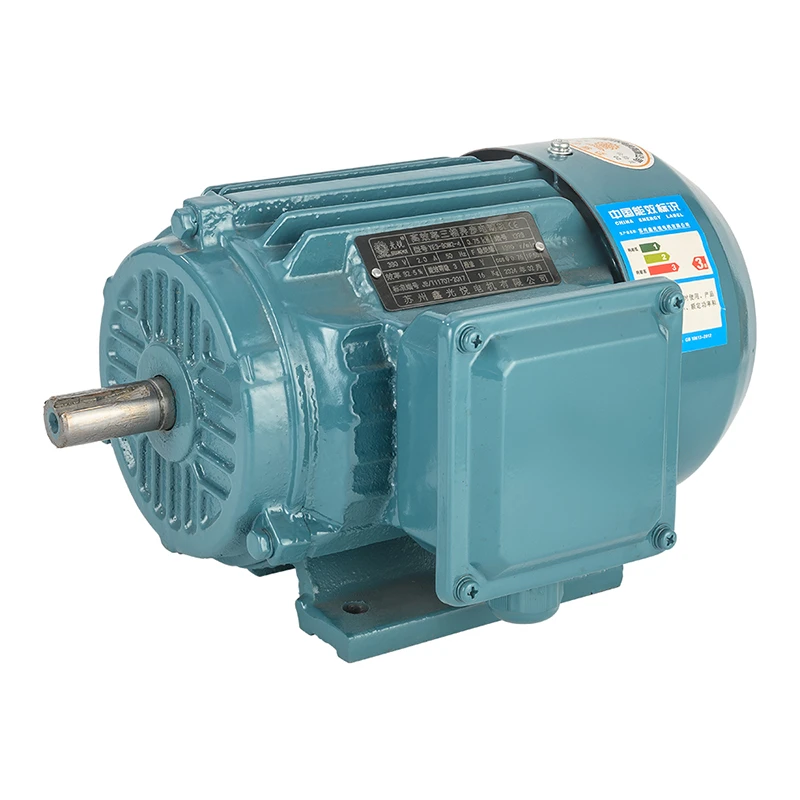
Now it's time to mount the motor onto the chosen surface. Line up the motor's mounting holes with the holes on the mounting surface. Insert the bolts through the holes and use a socket wrench to tighten them. But don't over - tighten! Use a torque wrench to ensure you're applying the correct amount of torque as specified in the motor's manual.
If you're using a base plate for mounting, make sure it's properly secured to the surface first. Some YE2 series motors, like the Three - phase Ac Motor 7.5 Hp 1440 Rpm 5.5 Kw, come with specific mounting requirements, so pay close attention to those.
Step 4: Connect the Shaft
The motor shaft needs to be connected to the driven equipment, like a pump or a fan. Make sure the shafts are properly aligned. Misalignment can cause excessive vibrations and can damage both the motor and the driven equipment.
You can use a coupling to connect the shafts. There are different types of couplings available, such as flexible couplings and rigid couplings. Choose the one that's suitable for your application. Follow the manufacturer's instructions to install the coupling correctly.
Step 5: Electrical Connections
This is a critical step, so be extra careful. First, make sure the power supply is turned off before you start making any electrical connections. Check the motor's wiring diagram in the manual to understand how to connect the wires.
The YE2 series motors are usually three - phase motors. Connect the three - phase power supply wires to the corresponding terminals on the motor. Make sure the connections are tight and secure. You may also need to connect the ground wire to ensure electrical safety.
If you're not confident about making the electrical connections, it's best to hire a qualified electrician. Some motors, like the Three Phase Engine Shaded Pole Asynchronous Motor, have specific electrical requirements, so follow the guidelines closely.
Step 6: Testing
Once you've completed all the connections, it's time to test the motor. Before you turn on the power, double - check all the connections and make sure everything is in place.
Turn on the power supply and start the motor. Listen for any unusual noises or vibrations. If you notice anything abnormal, turn off the power immediately and check for problems.
Let the motor run for a few minutes to see if it reaches the normal operating temperature. Check the motor's performance, such as speed and power consumption, and compare it with the specifications in the manual.
Step 7: Maintenance
After a successful installation and testing, don't forget about maintenance. Regular maintenance is key to keeping your YE2 series motor running smoothly.
Clean the motor regularly to remove dust and debris. Check the lubrication levels if the motor has lubrication points. Inspect the electrical connections periodically to make sure they're still tight and there are no signs of corrosion.
If you need a reliable YE2 series motor, we've got a great selection, including the YE2 - 80M2 - 4 1HP Three Phase Electric Motor. Whether you're in the market for a new motor or need advice on installation and maintenance, we're here to help. If you're interested in purchasing a YE2 series electric motor or have any questions, feel free to reach out for a procurement discussion. We're eager to work with you and provide the best solutions for your needs.
References
- Manufacturer's manual for YE2 series electric motors
- Industry standards for electric motor installation and maintenance


